
Have you ever wanted to try your hand at paper piecing but have just been too scared to? Me too! Then I saw this awesome paper pieced block making the rounds on the Internet. I just had to have it, but I didn't know how and it looked so hard! Well, lucky me just happened to join a Block of the Month quilting club, 4 months late as a matter of fact. At the second meeting I attended we learned how to paper piece. I was so excited, I was finally going to learn how to do it and could tackle that block!
Then I had a couple of friends who, after finding out that I learned how to do it, wanted to learn too. So here we are! I finally tackled that awesome block and took pictures while I did it.
First things first. Find a paper piecing pattern that you want to try. You can use the same one I'm going to do, or find one of your own. The instructions will be the same no matter which you choose. Here's the link to the pattern for the one I'll be using:
You will need to print four of that pattern to get one block. Print it on regular printer paper or you can use foundation paper. Foundation paper is easier to see through, but a bit more costly. From what I understand it is available at JoAnn. I use printer paper and my fluorescent Ott Lite to help see through it, as you will see in the pictures. I haven't had any issues with the printer paper. Just use what you're comfortable with.
Now grab some fabric, scraps work great for paper piecing, and let's get started!
These instructions are going to be very redundant. Reason for this is because once you get the first few pieces on you do the same steps over and over again until it's done. If, at any point, you get tired of me and know what you're doing then by all means spread your wings and fly little bird! I will post the steps from start to finish until the entire block is done. That way if you get lost you can always fly back home :)
Grab your block and trim it to the seam allowance. I don't think I need to tell you not to use your fabric scissors to cut the paper!

Now the first step is the trickiest part of paper piecing. And I apologize for the quality of these first few pictures. It took a few tries to finally get my camera setting right under that fluorescent light!
Ok, first thing you need to do find section #1 on your block.
Now turn your paper over so it is face down.
Then take your first scrap of fabric and put it on top of where section #1 is on the paper. You want to lay the fabric right side up so that the fabric and the paper block are wrong sides together.
A couple of rules to remember with paper piecing are that you always work on the backside of the paper, the first block is always put on right side up, and all the rest of the blocks will be put on right sides down.
You can see in the following picture how the fabric completely covers section #1. The only thing I want you to do different from what I did is make sure your piece of fabric goes all the way to the edge of the paper to cover the seam allowances. I ended up having a teeny tiny little gap in the corner when mine was done.

Do whatever you need to do to hold that piece of fabric in place. You can use a pin, basting spray or fabric glue. Don't go crazy on the adhesives though, some of that fabric will be getting cut off!
Turn your paper back over and fold it on the line between section #1 and section #2

Flip it back over and fold it on that line again, just in the opposite direction. You can fold it only once if you can see the line from the backside. I can't always see it so I fold it from the front first then use that line to fold it the way I need it. In the following picture I have the fabric moved out of the way so you can see the fold.

With the paper folded, and the fabric in place, lay the block down on your cutting mat. The fabric will be sticking out under the paper. Grab your ruler with a 1/4" marking on it and lay it on the paper as pictured.

Cut the excess fabric off. You'll end up with the fabric being 1/4" longer than the paper.

Now grab the piece of fabric that you will use for section #2. It needs to be large enough to not only cover that section, but to cover seam allowances as well . Line it up on top of the fabric for section #1, right sides together, with the edge of the fabric that you just cut. The reason we just cut that fabric is to get our 1/4" seam allowance. Pin this one down as well if you need to.

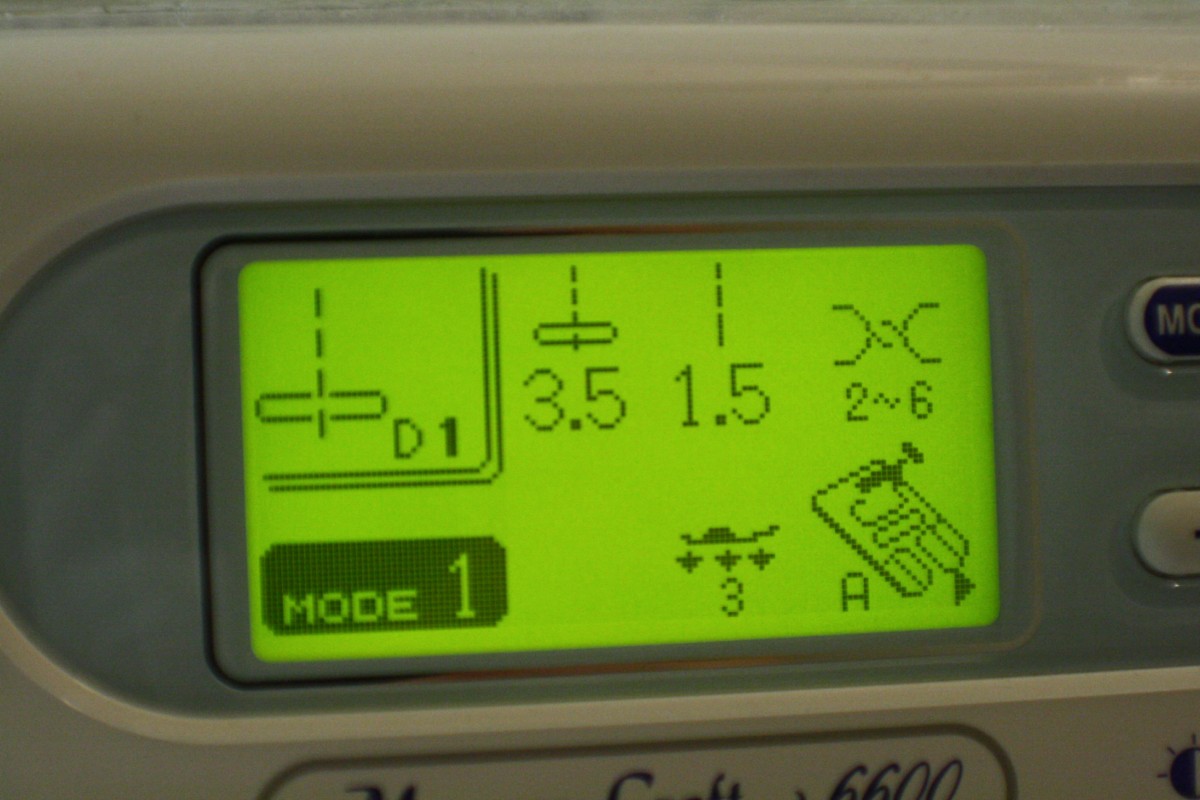
Now we're ready to sew. Set the stitch length on your machine to a lower number. I set mine on 1.5. The reason we want a lower stitch number is so it will perforate the paper and make it easier to pull away from the fabric when we're done.
Now stitch on the line between sections #1 and #2. Go all the way to the edge of the paper when you have a line that goes to the outside seam allowance.

Now, insert question here. To backstitch or not to backstitch? I backstitch everything because I'm paranoid. When it comes to paper piecing there can be a problem. If you don't backstitch, then the seams can come undone if you're not careful when you pull the paper away. If you do backstitch, and make a mistake, it can be a pain in the behind to undo the seams because not only are you undoing the backstitching, but your stitch length is a lot closer too. Use your own discretion.
Flip the paper back over and flip the newly sewn piece of fabric over on it's seam. You can finger press it into place. I iron it into place because I feel it holds better. If you use foundation paper you may not be able to use the iron though. I'm not sure because I've never used it so read your instructions.

Can you see that itty bitty little gap in the bottom left corner? Oops!
Holding the block up to the light you can see that I completely covered section #2

I cut the excess fabric off the edge of the paper. You can cut it or leave it for now, depends on whether it gets in your way or not.

Now fold the paper on the line between sections #2 and #3

Then flip it over and fold it the other way

And cut off the excess fabric leaving a 1/4" allowance

Now line up the piece of fabric you will be using for section #3, right sides together. Make sure it's large enough to cover the whole section plus the 1/4" allowance

Sew on the line between sections #2 and #3

Flip that fabric on the seam and press it. You can see how mine covers the whole section, even down into the seam allowance.

Fold the paper between sections #3 and #4

Flip it over and cut off the excess, leaving 1/4"

Grab your next piece of fabric and line it up, right sides together

Stitch on the line between sections #3 and #4

Flip it up on the seam and press it. See how nicely it's coming together?

Fold on the line between sections #4 and #5

Flip it over and cut off the excess

For section #5 I was a little unsure of whether my piece would be big enough. It's a large and oddly shaped section. So I pinned the fabric in place first

And then flipped it up and held it up to the light to make sure it was big enough. If you are ever unsure of the piece you are using just do this. It can get confusing, especially on these next few pieces because they are long triangle shapes.

Stitch on the line between sections #4 and #5

Fits just fine!

I like to cut the excess off of the edges. Again, you can leave them for now if they don't bother you.

Looking good so far!!

Fold on the line between sections #5 and #6

Flip it over and cut off the excess, again leaving a 1/4" seam allowance

Line up the piece of fabric you're using for section #6

Stitch on the line between sections #5 and #6

I forgot to take pics every time I pressed the fabric. Don't forget that step!
Fold on the line between sections #6 and #7
Fold on the line between sections #6 and #7

Cut off the excess, leaving 1/4" allowance

Line up your fabric

Stitch between sections #6 and #7

Flip the fabric up and press

Fold on the line between sections #7 and #8

Flip it over and cut off the excess, leaving 1/4" allowance

Line up the piece of fabric you'll be using for section #8

Stitch between sections #7 and #8

Flip it and press it

Fold the paper on the lines between sections #8 and #9

Cut off the excess fabric leaving 1/4" allowance

I do realize that this is a very large scrap piece, much larger than I actually need. It was the last piece and the end of the piece of the solid that I cut, so I just went with it.

Stitch on the line between sections #8 and #9

Flip it and press it

If you are working on the same block as me, then that was the last section! If not, then you either already finished or have a few left. Just keep on trucking until you get them all done.
Once you have finished all of the sections, go back and trim the block all the way around the edges

It should be nice and neat

Look at those perfect 1/4" seams!

Now, very carefully pull the paper away from the fabric. I pull it to the side instead of up so it doesn't pull on the seams too much. It should come apart pretty easy since the paper is perforated.

Continue until all the paper has been removed

If you are making the same block as me, then make 3 more!

Sew them all together and Voila!!! You just made your first paper pieced block!

Now quick, go run and show your significant other. Make sure you go into detail about everything you did and how clever you are for being able to figure it out. They love that! Well, if they're anything like my husband, hopefully they'll at least pretend that they do ;)
7 comments:
I'm glad you have this, it's beautifully done and I of course, love the block you made. Now, I can say, i've "seen" paper piecing, although I'll be back here if some in that 12 month quilting bee goes for paper piecing!!! Thank you.
Nice tutorial! I was wondering how those blocks were done!
Thanks ladies! They really are a ton of fun and make the neatest blocks. I hope the tutorial comes in handy for you eventually :)
Great little tutorial. I really like the intricate part of quilting.
fab tut! thank you.
I can't believe how easy you have made paper piecing for me, thank you so much...I am SAVING this tutorial for sure. ♥
THANK YOU!~ I am saving your excellent tutorial for future use. I love this Circle of Geese block and made one of the pieces of the four needed ages ago... future attempts at paper piecing were a disaster. Off to explore your blog!
Post a Comment