Here it is, finally!!
Sorry it took so long, sometimes living in a small town is nice but not so great when you need crafting supplies and Wal-mart is your only option.
To make your clock you will need:
A canvas, any size is good.
If you're making a dresden plate clock like the original then you should get at least a 12x12. I did something a little different this time and used a 12x16. If you want to put a frame on it, keep that in mind when buying a canvas. I want to frame mine but 12x16 is an odd shape and I can't seem to find one I like.
Clock Parts
I used the 1/4 shaft.
Some fabric art (make sure it fits your canvas, you will need at least 2" extra of fabric on all sides to be able to wrap it around the canvas when it's done.) It doesn't have to be a dresden plate, think outside the block!
A piece of batting cut to the size of your canvas (which I forgot to take a picture of)
And a staple gun
You can probably use a hot glue gun. I haven't tried it though
Assembling the clock
Figure out where on your art you would like your clock and mark it
I decided for this one that I wanted to put some numbers on it. On the dresden plate I made I just used the same fabric for the 12, 3, 6 and 9 positions, see?
So for this one I had to mark those positions too. I just stuck a pin in the mark I made, and spun it around to those positions and marked them too. I didn't measure or anything but if you're inner perfectionist comes out to play then feel free to grab a ruler.
Once I wrote my numbers on the fabric, I doused the fabric with water to remove the marks from my pen
Using your scissors, snip a hole where you made the mark for your clock. Be careful not to cut it too big. I made the hole really small and then tried to put the clock through it. I just made the hole a little bigger a little bit at a time until the clock fit.
Here is my fabric with the hole and my embroidered numbers. Feel free to use whatever method works best for you for your numbers, embroidery, applique, etc.
Lay your fabric art on the canvas, making sure to lay it where it's final placement will be.
Using your marking pen, place a mark in the hole you made in your fabric
Then puncture a hole into the canvas
Make sure it's wide enough that your clock will fit
Now lay your batting on your canvas (I forgot to take a picture of this step too). You can attach it with basting spray if you'd like, it will make life easier. Do you HAVE to use a piece of batting? No, you don't. Why do I then? I don't know, it just felt right. And I kind of felt like it needed to have just a little bit more thickness for the shaft of the clock. If you add more than a piece of batting and fabric then you may need to get a clock with a longer shaft, just keep that in mind.
Go ahead and put a hole in the batting too
Then put your fabric in place on the canvas. As you can see here I had a piece of interfacing on the back of my fabric that was cut to the size of the canvas
This helped me not only design my clock and keep everything within the workspace of the canvas, but it also helped me to line it up on the canvas when I was done. Plus, you'll have those holes to line up.
Just a quick note on this last step: After I made my holes I found that my fabric art didn't line up right on the canvas if I matched those holes up. You may want to attach your art to the canvas before you make the hole in the canvas. Go ahead and make the hole in the fabric, because the first one I did I didn't make any holes first and I almost damaged the fabric trying to puncture a hole through all three surfaces at once. I was able to fix mine but I now have two holes in my canvas and a butterfly leaf under the clock that wouldn't have been there had I not had to cut my fabric a bit larger.
Hem the edges of your fabric if you'd like. I turned mine under 1/4" and ironed, then turned it another 1/4" and sewed it.
Then, using your staple gun, staple down all four sides of your fabric art to the back of your canvas
To make the corners nice and neat follow these steps. I'll let the pictures do the talking.
Time to attach the clock!
Install it according to the directions on the package. I found that the clock will lean off of the back of the canvas a bit, especially when you install the battery. I have this stuff:
Mom bought it at Lowe's on clearance one day, not sure if it's still available. You can use glue dots though, they're basically the same thing and available in the scrapbooking section. You may be able to use hot glue even, again I don't know because I haven't tried it. Anyway, I attach the sticky stuff like so:
See it across the top? Then I install the clock and it holds it in place.
Once you have your clock installed hang your work of art on the wall and step back and admire it!
See the new butterfly leaf that wasn't there before? Learn from my mistakes people!
Post your pics in the
Flickr pool if you make one please, I'd love to see your variation!
Now for some fun pics from my sewing weekend where I taught my friend Karen and her Aunt how to make their own clocks.
First, a few pictures of them working on them
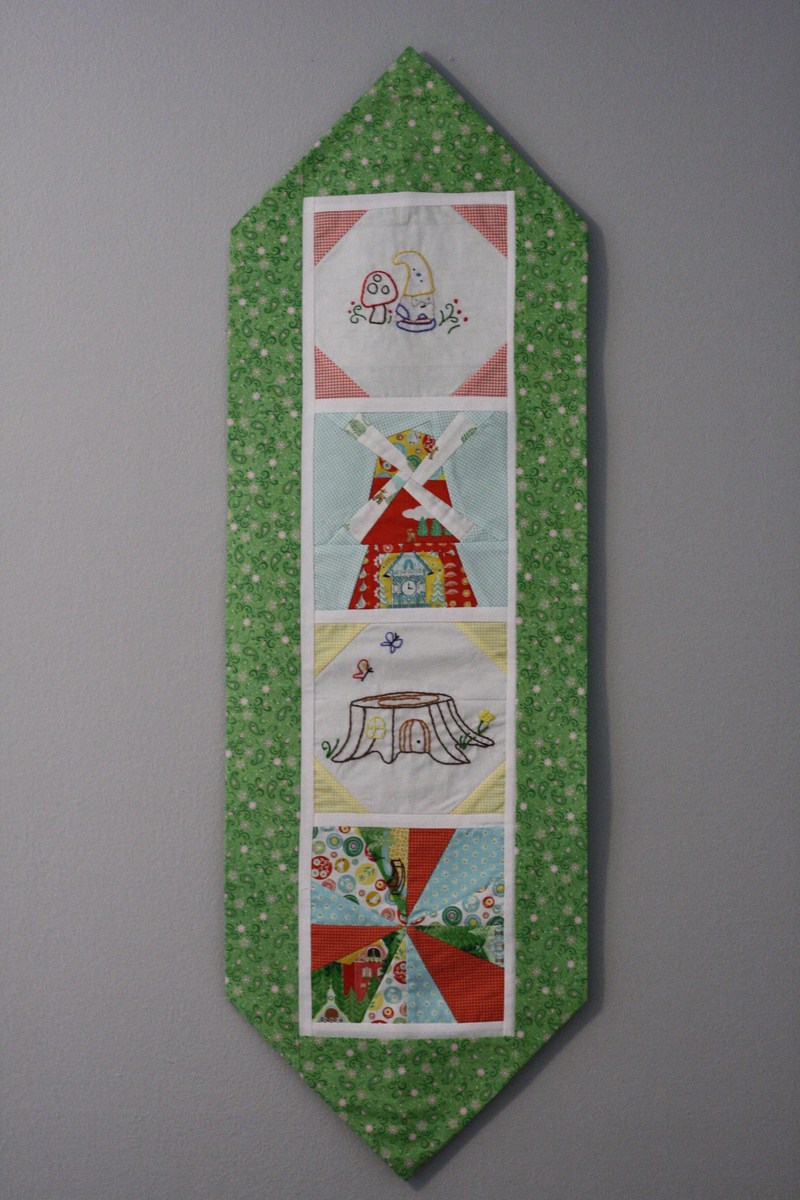
Here is Karen with hers, isn't hers gorgeous? (and does that windmill look
familiar?)
And her Aunt Fortchy with her dresden plate version
Can you see what time it is in these photos? That would be 2 AM. Want to know what happens to a bunch of ladies who stay up sewing into the wee hours of the morning?
They tend to get silly