Back in March, when I realized that I would be able to attend my Grandpa's memorial service and that I would be flying for the first time in about 10 years, I decided I needed a new purse. I needed something smaller, less to travel with since I was planning on taking my weekender as a carry-on too.
I purchased the Emmaline bag pattern that I had been eyeing for quite some time and set to work. It seemed like it was a pretty large bag, so I scaled it down a bit (90% I think).
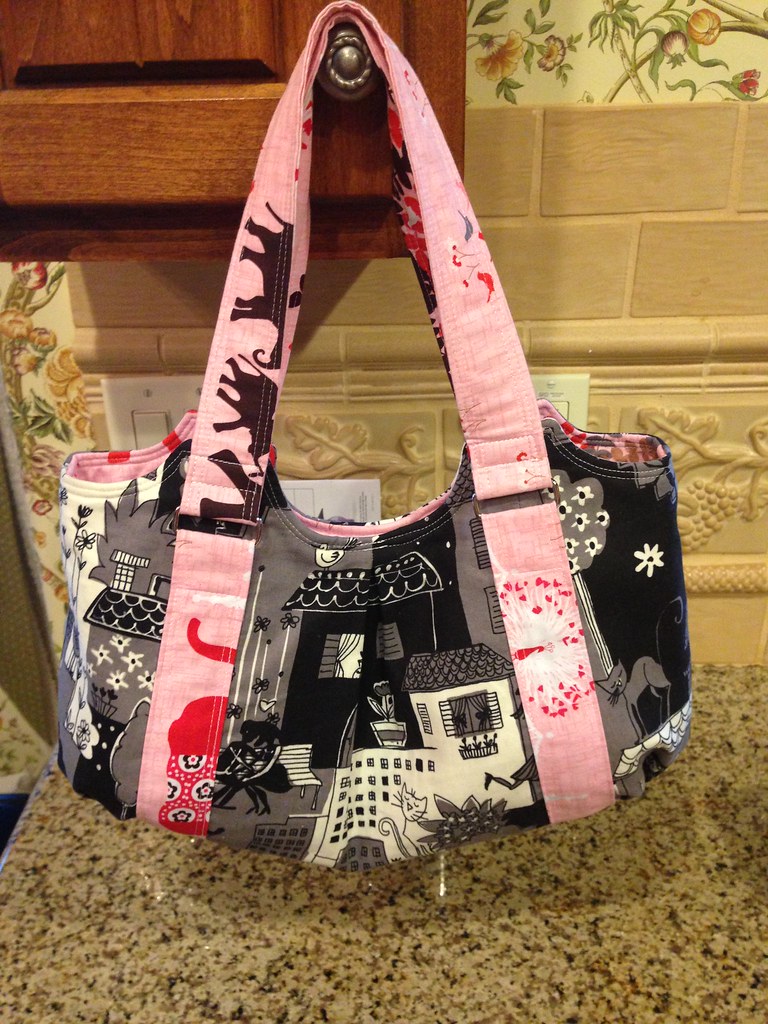
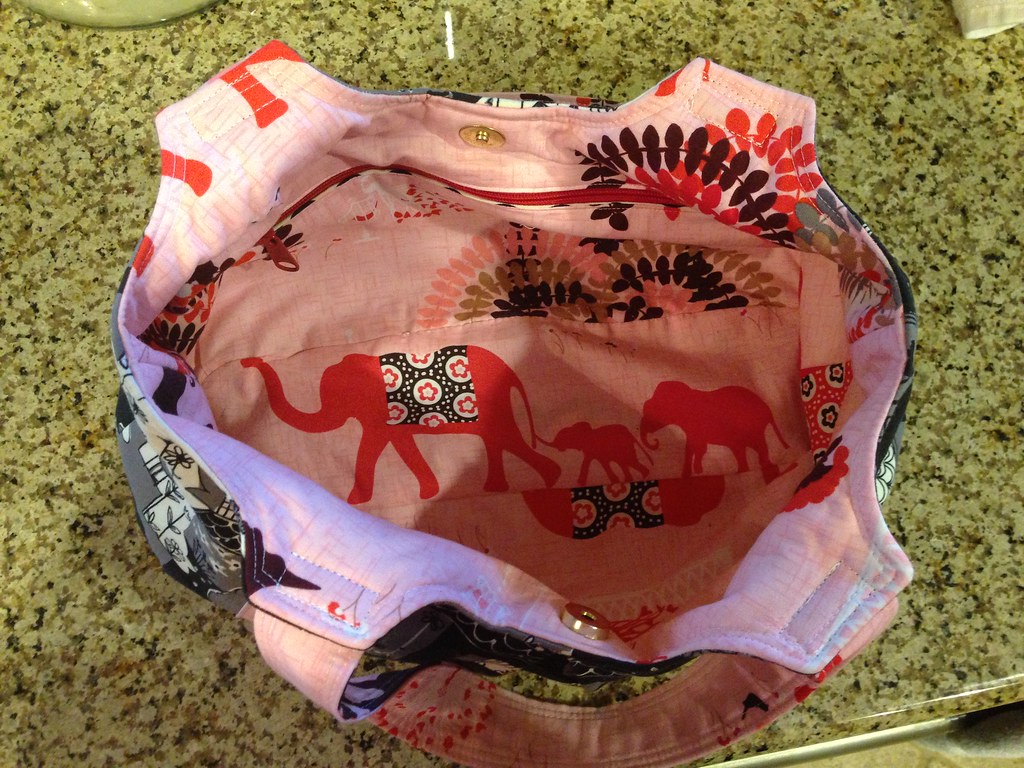
I liked the bag, the shape, the pattern and even the fabrics. Something about it wasn't screaming "JULIE!" though. Then I got to Phoenix and my Sister in Law saw the bag and declared her love for it. So I gave it to her.
I snapped these pics at my Aunt's house before we all left since I forgot to take some when I finished it.
And because I get asked every time somebody sees it, that black print is Love City by Alexander Henry.
Well, that set me back one new purse so I started looking for my next one. I did like the Emmaline bag, but what I didn't realize is that the pintucks in the bottom of the bag caused it to kind of collapse when it was set down flat. That bothered me a bit.
Then one night, during a sit and sew, a friend was working with some By Annie's Soft and Stable. I told her I had been wanting to try it out, so she gave me a huge piece from her stash to play with.
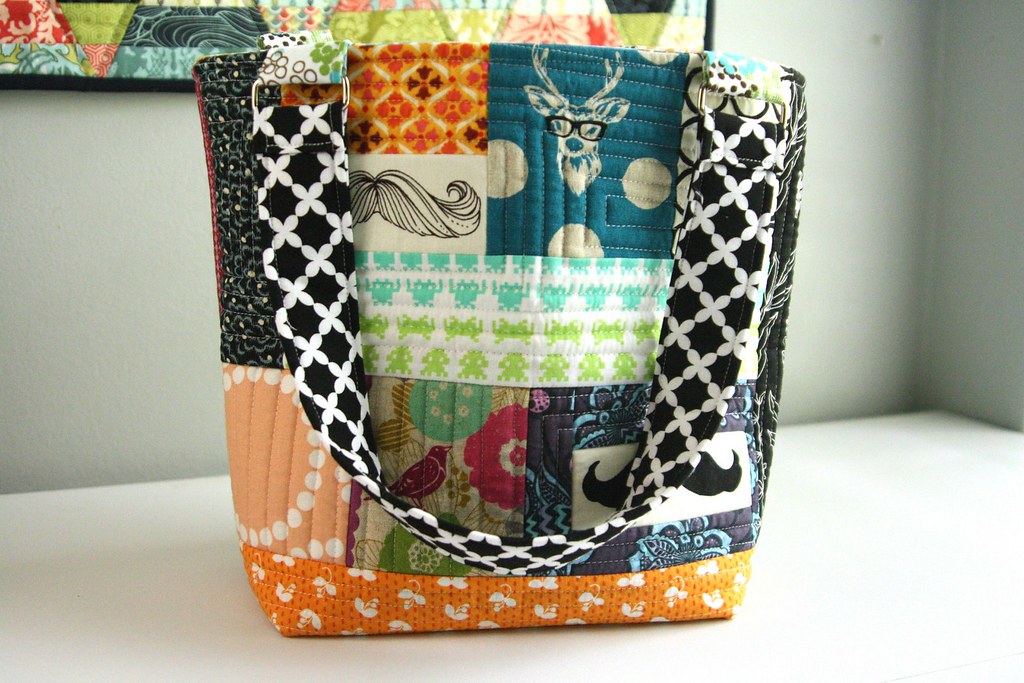
I stared at that piece of stabilizer for about a week when I finally decided that I wanted to try the quilt as you go with it, very much like I (and everybody else) did when making the weekender.
Let me tell you, I wouldn't hesitate to try to use this instead of the batting and duck cloth if I ever make another weekender. What a great product!!
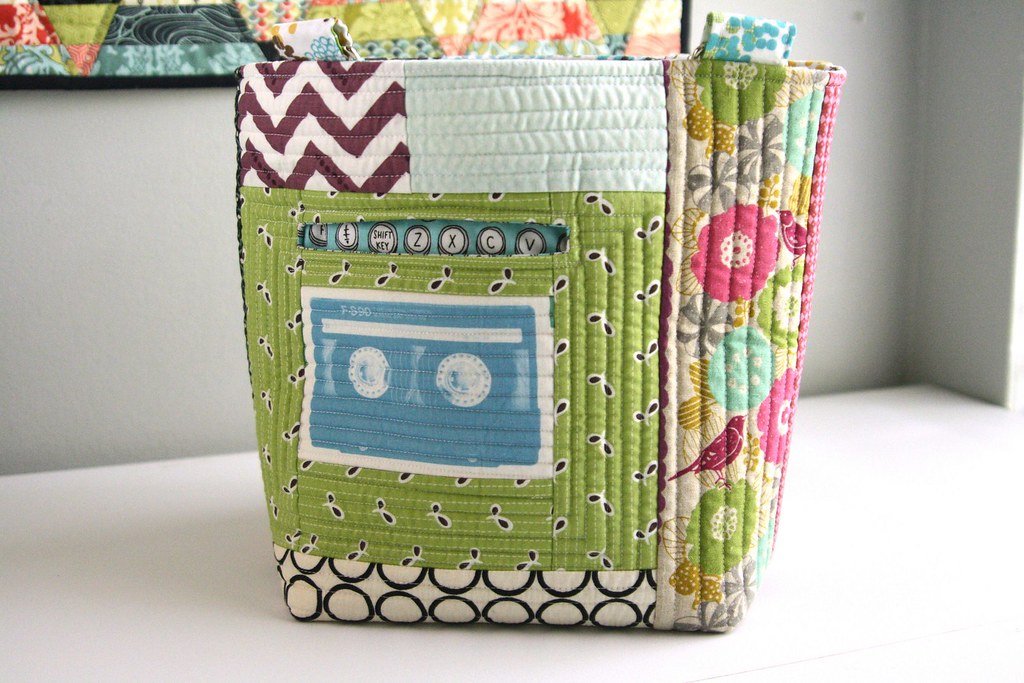
I made two quilt as you go panels and then pieced them together into a simple tote. I gave it a little character by adding the straps using rectangle rings instead of sewing them directly in between the outer shell and the lining.
See the little pocket there on the outside? I totally didn't plan for those letters to end up centered like that and was pleasantly surprised when the did. That's my phone pocket!
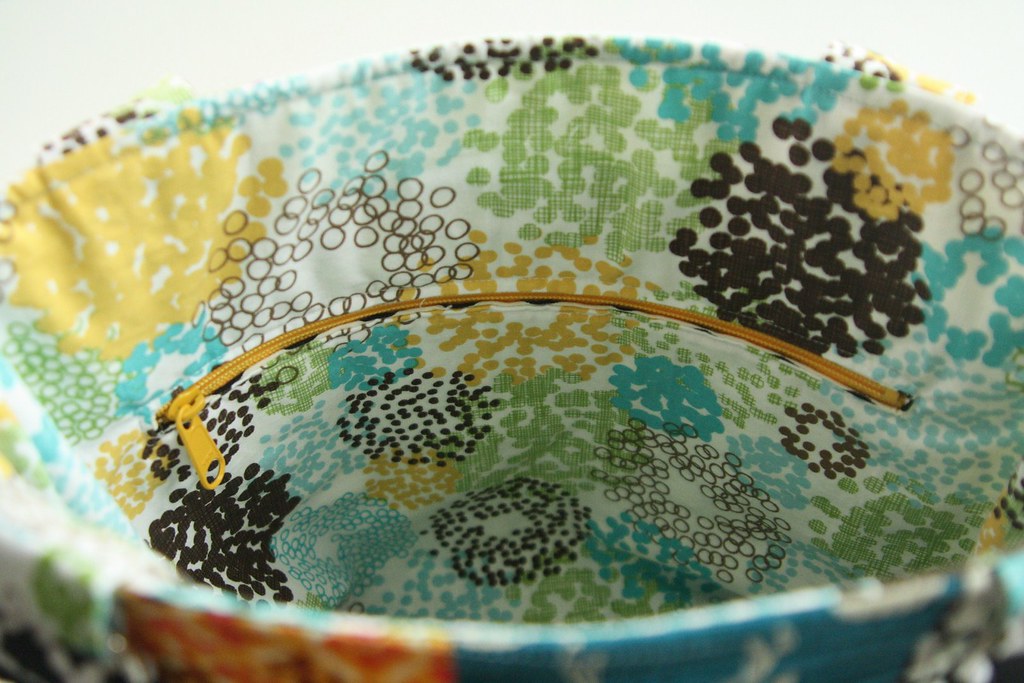
I also added a zipper pocket on the inside, of course.
Well, after I put this bag together, Sara over at Sew Sweetness released her Greenbacks Trio wallet pattern. She had been posting sneak peeks on Instagram of them and I was waiting with baited breath for them to be released. I have gotten into a habit lately of just grabbing my wallet when I go into the store, but it didn't hold any more than my cards and some cash. I found myself at the checkout without my coupons or change many times and I hated that.
Once I got my hands on the pattern I couldn't wait to get to work! I didn't have any zippers long enough though, and I live in Podunk so I couldn't get any local. Drats! So I ordered some and waited. (Got them from Zipit on etsy, SUPER fast service!)
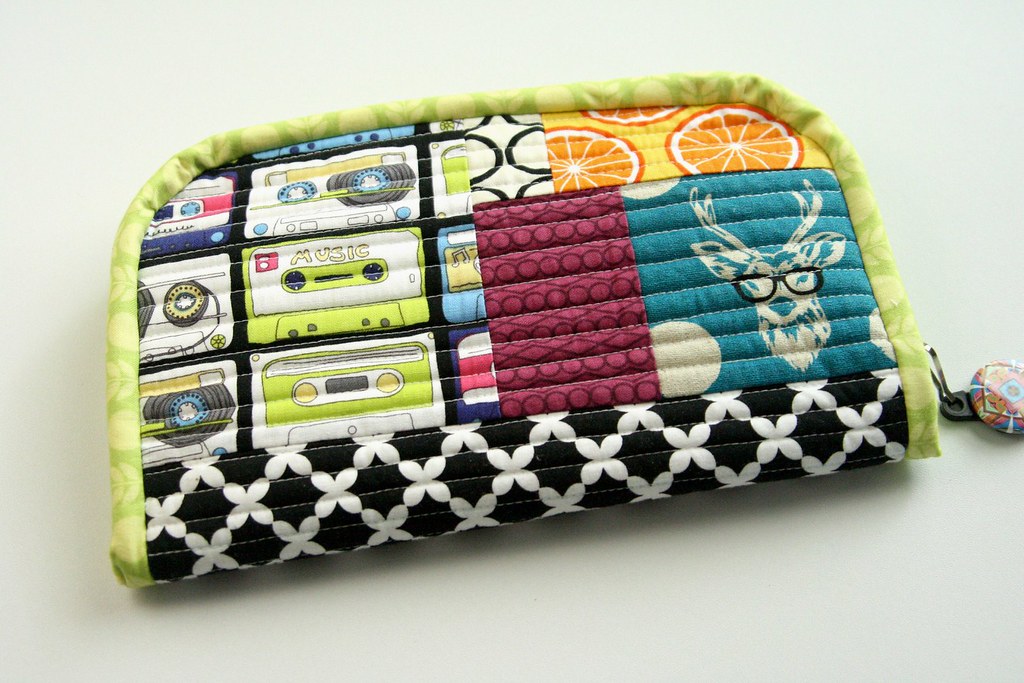
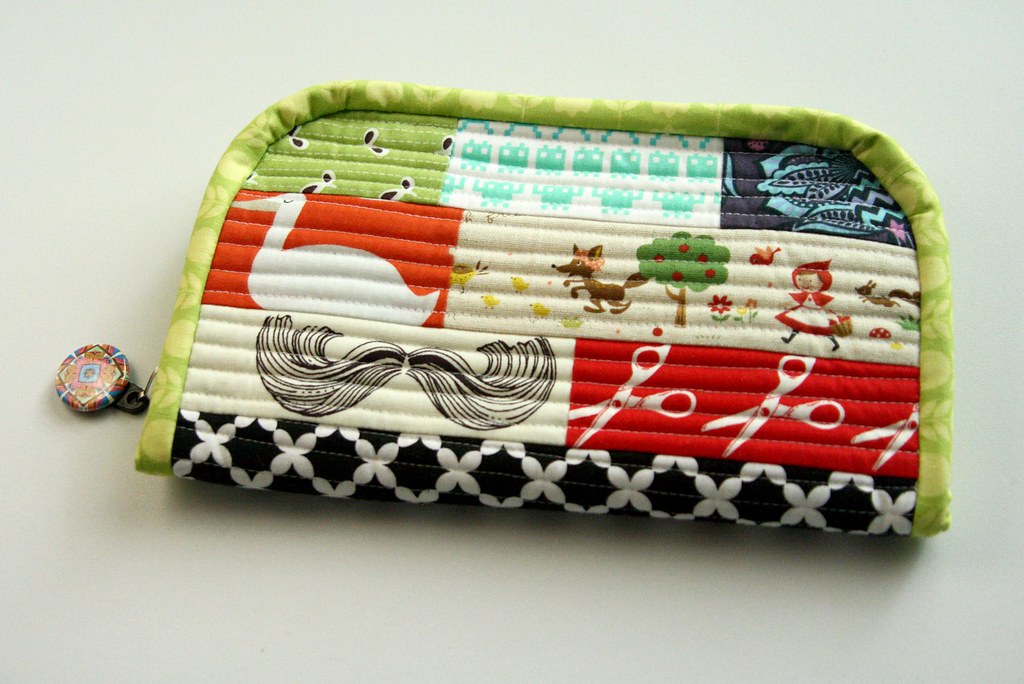
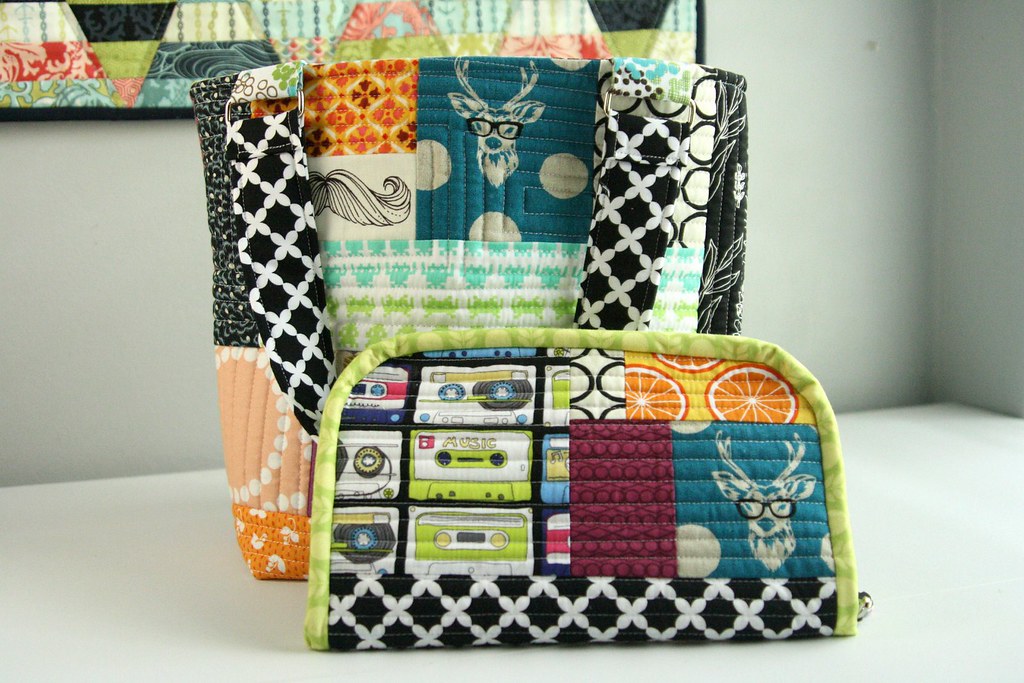
I originally intended to use some of my Notting Hill Stash, but loved my scrappy tote bag so much that I went that route with the wallet too.
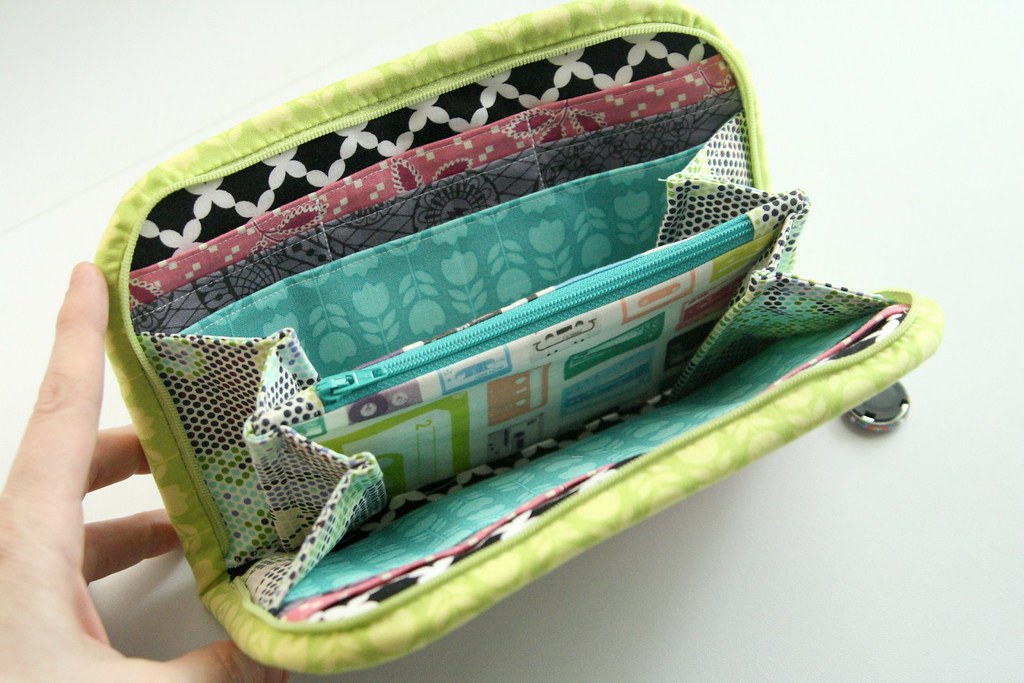
This was a very fun, albeit challenging, wallet to make. I did not install the zipper exactly like the instructions called for because I didn't want the extra hanging off of the wallet. It made it a bit more difficult to get that binding on because of it. I couldn't get it to open that far. My perseverance paid off though I think!
If you follow me on Instagram you've already seen a sneak peek of the inside. I used the cassette tape fabric as a focal point, and then chose tone on tone prints to coordinate with it.
I totally love this wallet! So far it is holding my coins, all of my cards, my coupons, a pen, gum, and headache powders. I could probably even put my phone, complete with it's bulky Otter Box case, in there too. I left the bottom card slots open instead of sewing them into actual card slots. I don't have that many cards so I figured I could use them for cash, coupons, receipts, whatever.
Now I have a problem. The wallet is too big for the tote bag!!
Don't you think? I have a plan to fix this though. I've already taken the tote bag apart again. Oh boy.
This was one of my Lovely Year of Finishes goals for May, and even though I've taken it back apart, I'm totally counting it as a finish. Now that my sew-jo is back maybe I can finish it again before the month is out!
Linking up to A Lovely Year of Finishes and Finish it Friday at Crazy Mom Quilts!

.JPG)


14 comments:
Completely fabulous tote bag, although can't believe you have taken it apart. My suggestion would have been to send it to me and then just make a bigger one for yourself ;-)
I love your tote bag! Perfect combo of fabulous fabrics...and yes, the wallet and tote need to be together so hope your revision works :)
I literally LOL'd when I got to the part where your wallet is to big for the bag, I have SO done that before myself! I'm impressed you actually took the tote apart already to deal with it, good for you! Can't wait to see it redone, it and the wallet both look awesome. Great job!!
Absolutely gorgeous...
Stunning bags!
So pretty, both of them!
I love them all!
Love them,super cut!
those are adorable! great fabric choices and love the quilting!
-Kelly @ My Quilt Infatuation
What a great collection of bags. Nice work.
Love them all. The wallet looks so nice with the different colors inside.
You are the best! Love your projects!!!
Esther
ipatchandquilt dot wordpress dot com
esthersipatchandquilt at yahoo dot com
Wow! Love the bags. Come visit our blog and become a member...we're your latest member!
Thanks
Anna and Sarah
quackadoodlequilt.blogspot.com
What fun bags and pouches.
Post a Comment