
Disclaimer: I was not asked to do a review, nor was a paid for one. I was looking online for information about the machine after receiving one and couldn't find what I was looking for, so I thought I'd share my experience.
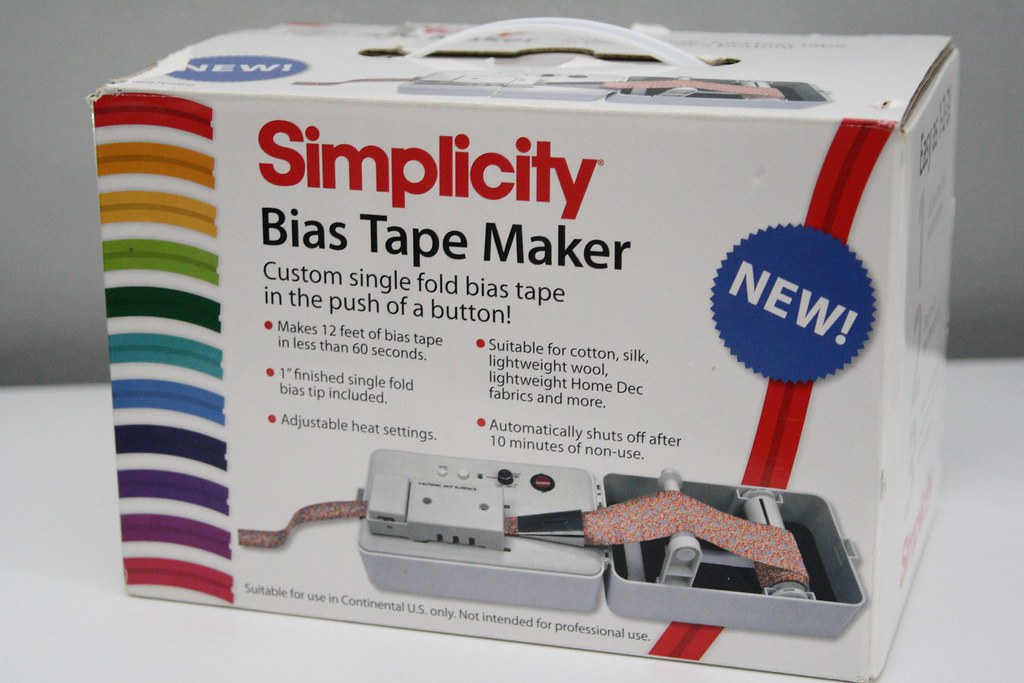
Let me preface this post by saying that my mom totally rocks. I've had my eye on a bias tape maker since it first came out, but the $100 price tag was just too much. To me, it was one of those things that you wouldn't use a lot but sure would make your life easier when you did.
Mom called me last week from Wally World, asked me if I had or wanted one. She said they were on clearance for $30 and she wanted to let me know. I told her everything I just told you and that it I thought it only made double fold bias but that if it did single fold, like I use for quilt bindings, and folded it in half instead of towards the middle that I would be on it like white on rice. She laughed and said ok then. All in all I think I was just trying to talk myself out of spending the money.
Well, the next day I'm chatting with Bree (who owns a bias tape maker) and I tell her about the conversation and she says "But Julie, they DO have a tip that does quilt bindings!" So I get excited and call mom and ask her if they had more than one machine on the shelf. Mom sighs and says "Do you want your Christmas present now?" She totally bought it, and all of the tips they had available in the store, for me for a Christmas gift. I totally ruined it! I felt like a jerk but was so excited!
So here she is
These are the extra tips I received, there are more than just these available. The tips that say "Quilt Binding Tip" are the ones that fold the fabric in half. The ones that say "Single Fold Tip" fold the edges of the fabric towards the middle. Bree, Heidi and I had a really long, really confusing, conversation about this the other night!
.jpg)
Here she is all loaded up and waiting for the ready light to light up. If you look closely, you will see that to the left of the iron part of the machine (where it says "Caution Hot Surface) there is no fabric sticking out of the end. I neglected to pull it through far enough.

Which led to this..

It's a bit hard to see but the strip is wrinkled from where it got caught in the roller and folded up accordion style.
It still produced a nice looking strip once I freed it from the roller though. This is the strip that you get with the tip that comes with the machine. If you use the alternative quilt binding method that we have posted here on the blog then this tip is perfect for that.

This is the strip from the 3/8" tip, it's tiny!

And this is from the 1 1/4" quilt binding tip, the one that I will be using the most as this is how I prepare my bindings.

I had a dickens of a time getting the strip to load into that tip. I'm sure it will be easier and faster once I get used to it but I think I spent as much time trying to load the tip as I would have spent manually ironing an entire quilt's worth of binding.
Overall I am in love so far. I made these practice strips and wanted to do more! It was really fun watching these perfect little strips coming out of the machine. It will really come in handy when I have to make the tiny double fold strips for clothing, I hate making double fold bias!
Oh, did you notice my new background in the pictures there? I've got myself a new handy ironing board!
.JPG)
I happened upon this table at Staples one day and it was just the perfect little size and height for pretty much everything. It can sit right next to my machine, I can take it out to the living room for handsewing, etc. It folds up for easy storage too. I thought about completely covering it to iron but decided I wanted to still have the option of the plastic table top. So I asked my husband to bring home a piece of wood the same size as the table top and I covered it in Insul-Bright and batting and then fabric. I probably spent the better part of 2 hours talking myself out of and then back into using that fabric for an ironing board. It was a leftover piece from a quilt I made and was the exact size I needed though. But it was such a large usable piece! In the end I finally just went for it, and I'm really glad I did. Ironing isn't such a chore now!

2 comments:
A great read, thank you.
Thank you for taking the time to point out the difference between the two types of tips! I had not seen this explained elsewhere, and you have saved me money and lots of trouble. Thank you!!!!
Post a Comment