
Today, we're going to create easy treat jars from recycled glass sauce jars.
Supplies Needed:
A glass sauce jar with a lid (or as many as you want!)
A 2" strip of fabric (or ribbon or twine, if you prefer)
Fabric scrap about 7' square
Small scrap of batting
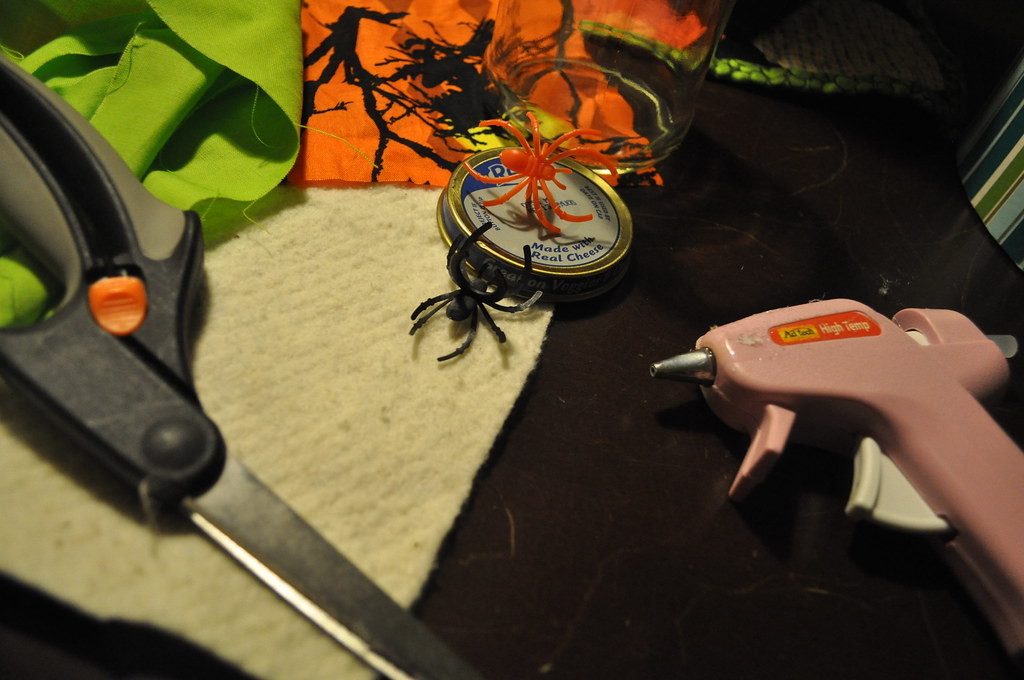
Hot glue gun
A spider ring (I got a whole bunch at the dollar store)
Remove your label from your glass sauce jar and set aside. It's hard to get all the gunk off, but since these will be filled with candy and treats, I just put the gunky side to the wall and never even notice it ;)
Now, take the lid to your jar, and cut a circle out of your batting that is the same size. Don't worry about perfect edges - they just plain ol' don't show! Use a few dots of hot glue to attach it to the lid.

(Like my scratched up table? Yeah, me too!)
Now, lay out your fabric scrap on top of the jar lid and center it. Hold the center down as shown in the photo, and start applying hot glue to the edge of the jar lid a little at a time. I like to do about an inch, and then smooth the fabric down over it, then another inch of glue, and so on...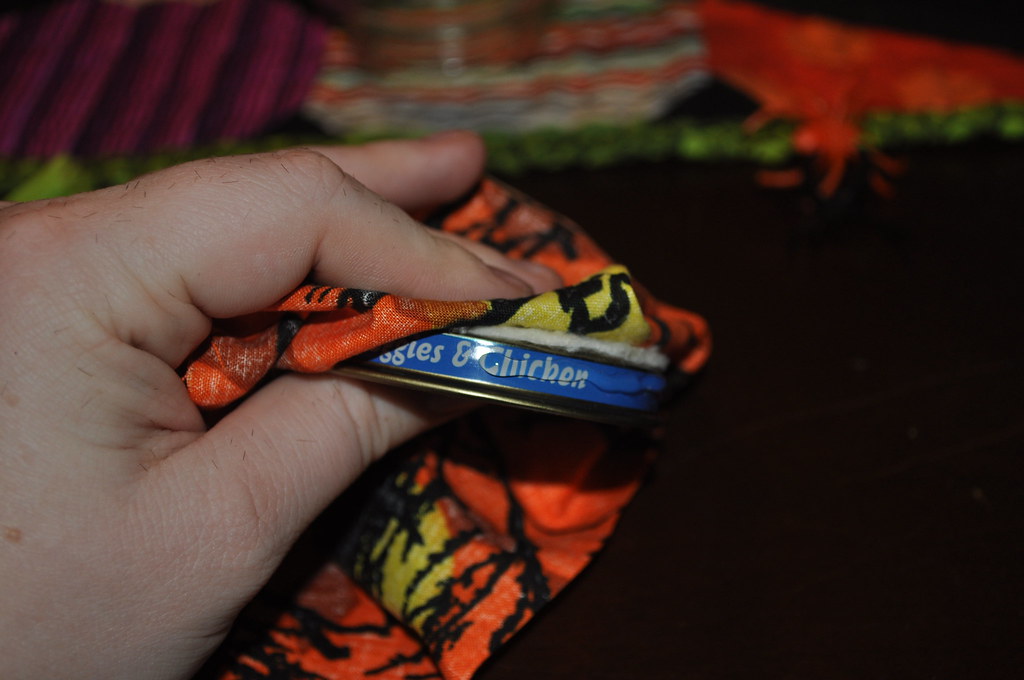
Once you have your fabric fully applied to the edge of your jar, place the lid back on the jar. It just makes this next step a little easier because you won't be trying to twist fabric and hold a little lid at the same time as applying glue!
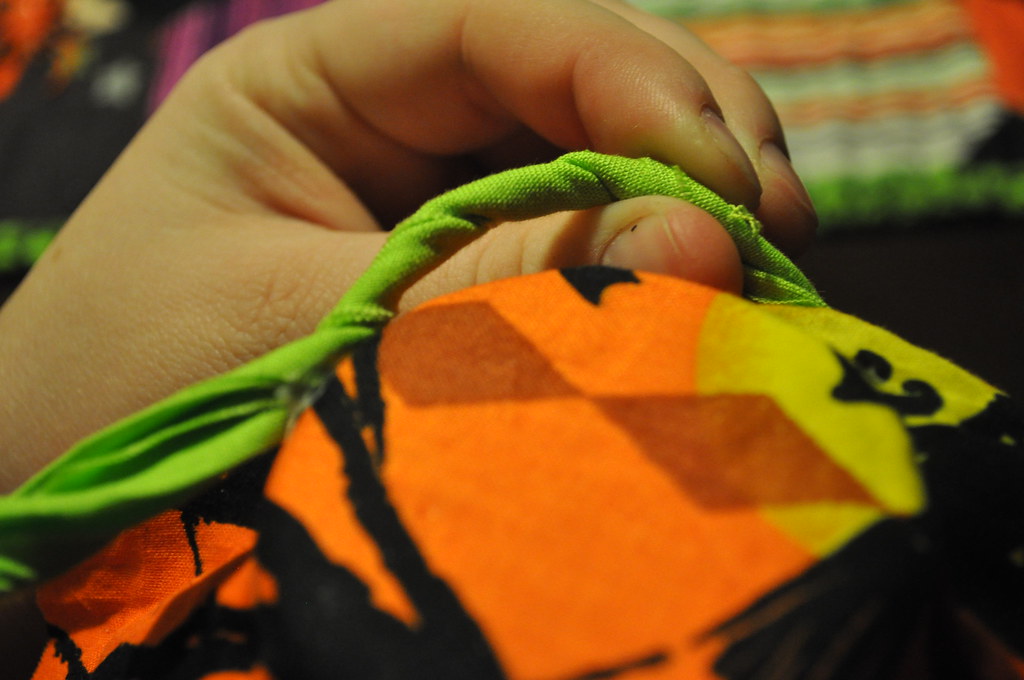
Take your 2" strip of fabric, and twist it like so:
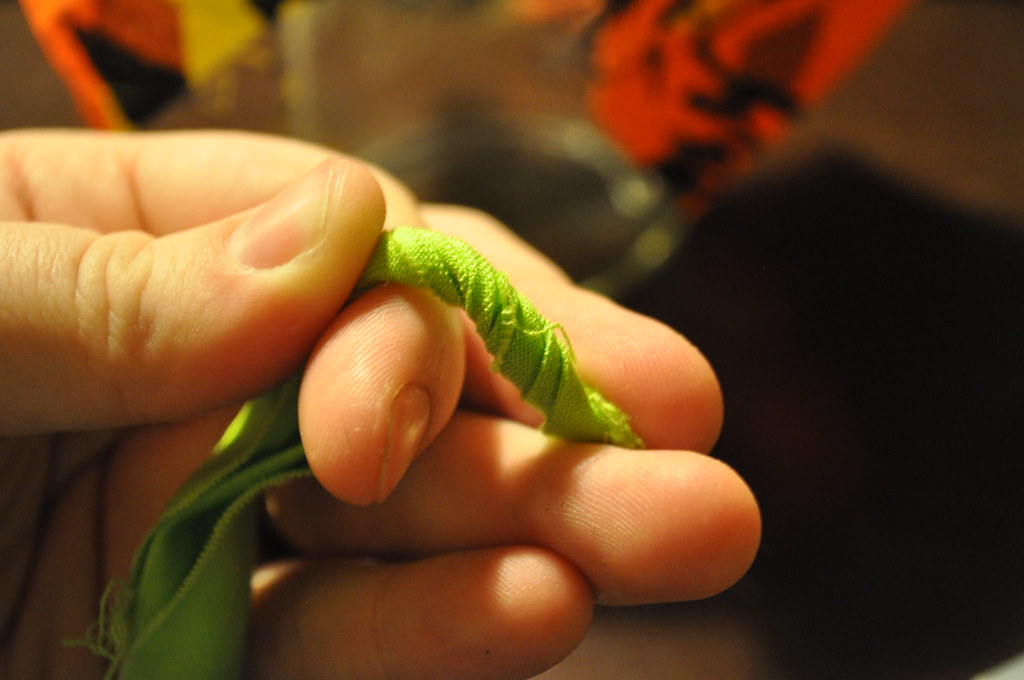
Using one small dot of hot glue, apply the twisted fabric to the edge of your jar. This is just your starting point and helps to secure it. Make sure you have a tail of an inch or two before the dot - this won't be glued down.
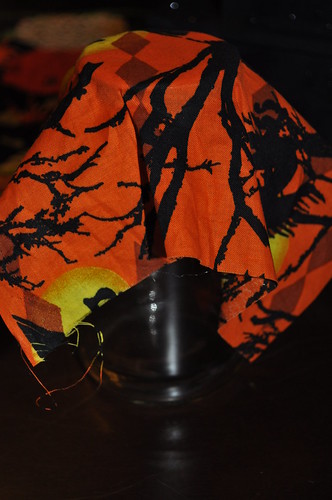
Now, continue twisting your fabric a bit at a time, and using the same gluing method as you used to put the fabric on the jar, start adding the twisted strip around the outside edge of the lid. The twisted fabric naturally curves a bit, so just add glue as you go, and hold it down for a few seconds until it sets:
Once you've got your twisted fabric applied to the jar lid, and you're back at your starting point, trim any excess so you have an equal tail to the one you left at the beginning - about 1-2".
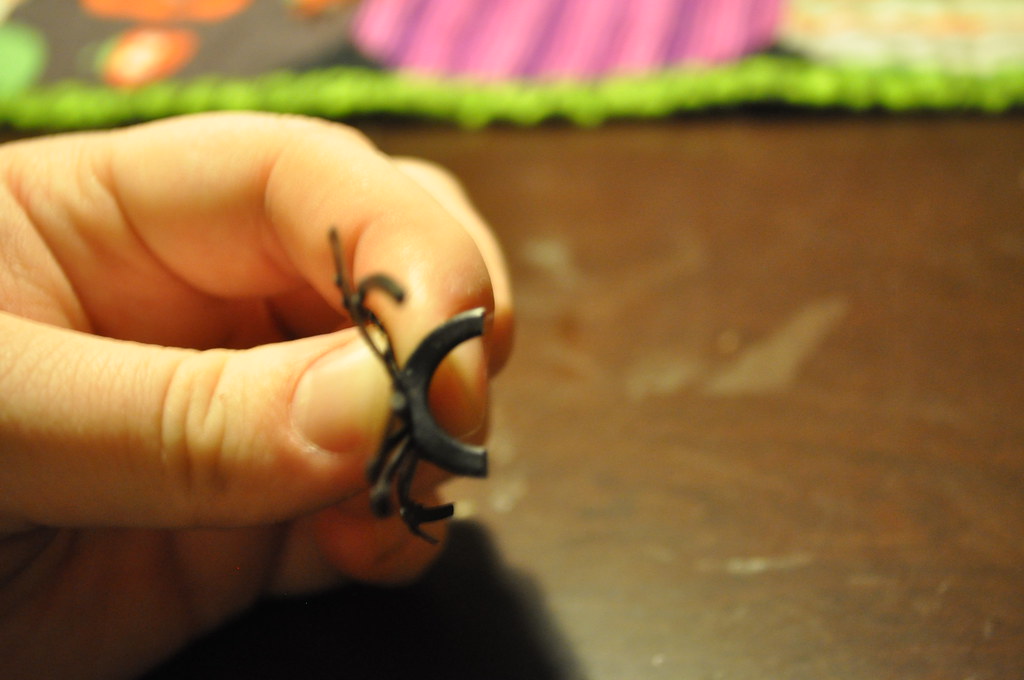
Now, take that plastic spider ring, and chop off the edges of the ring as shown. You still want a little of the ring part, but not the whole thing:
A quick dot of hot glue right on top of the twisted fabric, in the place where the starting and ending point meet, and press that little spider right into place.
Trim up your excess fabric to a shape that's pleasing, and fill with your favorite treat:
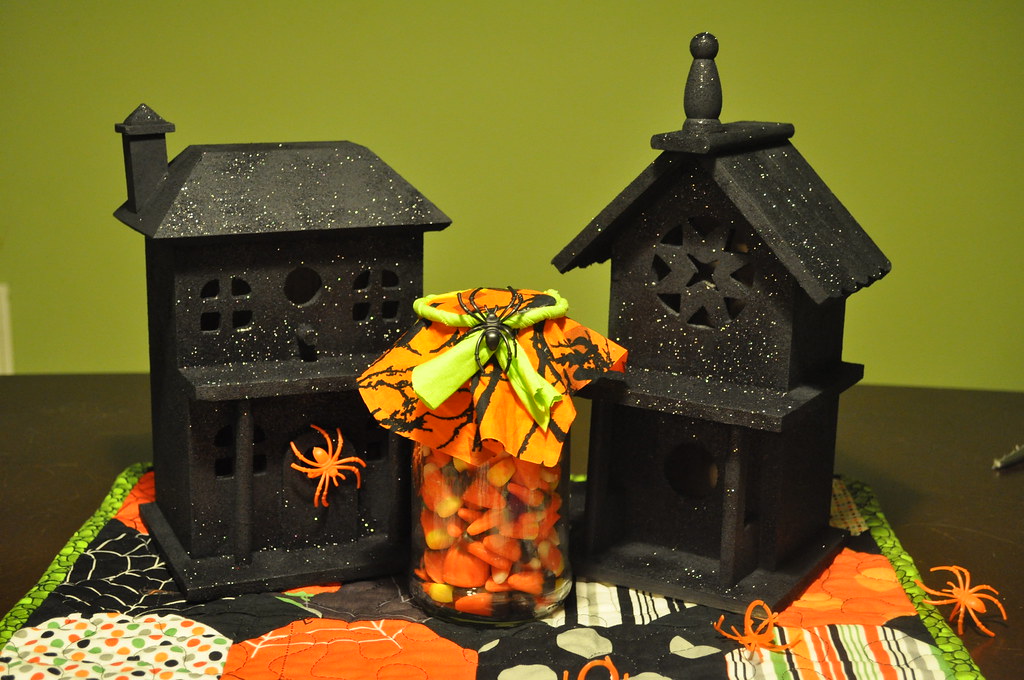
(Mmm, Candy Corn. Or as Kid calls 'em: "Orange Triangles"
Cuz... well, you know, Candy Corn is just too hard to say!)
Easy enough, right? Don't forget to add your photos to the Flickr Group and Link Up to the Fabric Donkey page for a chance to win the Fat Quarter Bundle from Riley Blake Designs!

0 comments:
Post a Comment