Y'all saw a brief sneak peek the other day...
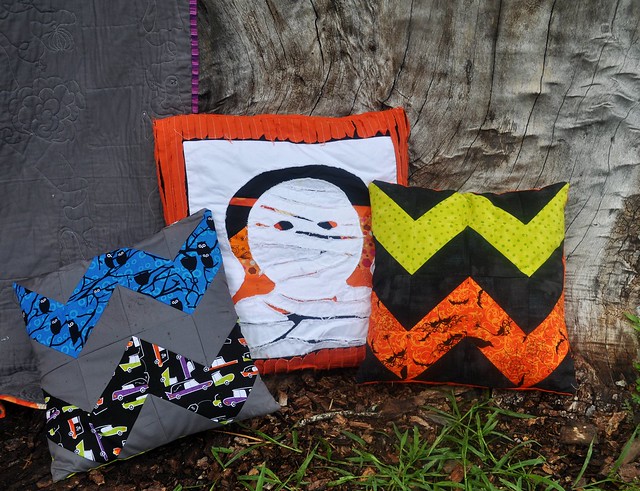
Now, we're going to learn how to make it! This is quite similar to the process I outlined when talking about my horse quilt, but this time, in photos!
First, we'll need a few supplies. I'm covering my existing 20" pillows in my living room, so my guy is pretty big. I took a half-yard cut of Kona white, and folded it in half on top of itself so I had a 18"x20" square that was doubled up.
You will also need scraps in orange and black. Doesn't matter the sizes, prints, shapes.
We're going to take those scraps and sew them together. No rhyme, no reason - just start sewing pieces to pieces, evening up if you need to at all - until you have a piece that is about 3/4" the height of your pillow (in my case, that's about 15") by a little shy of the width.
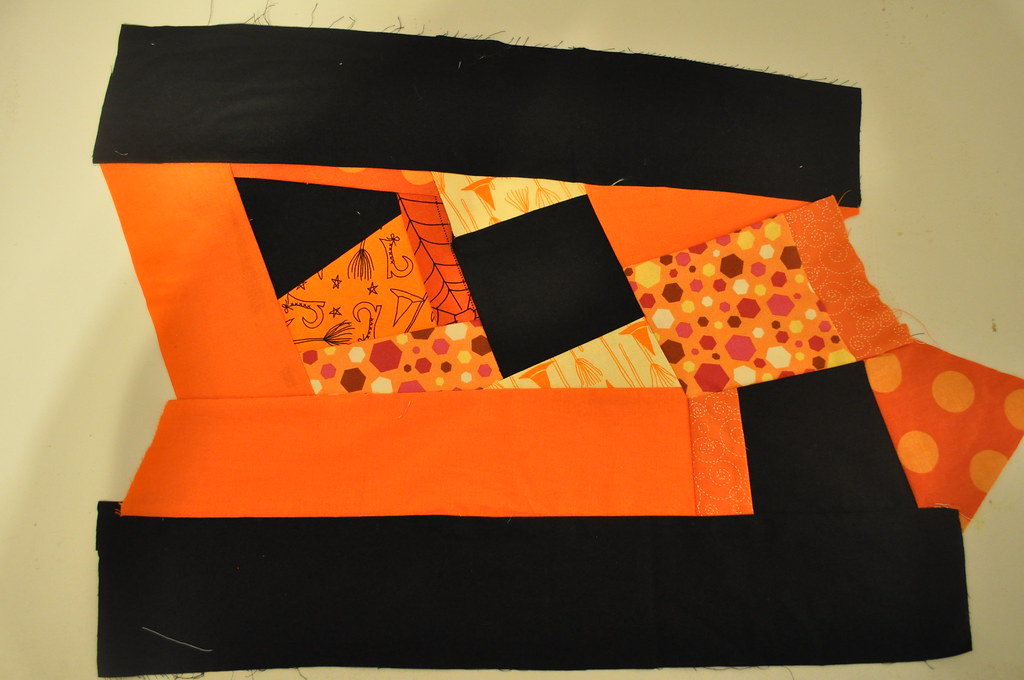
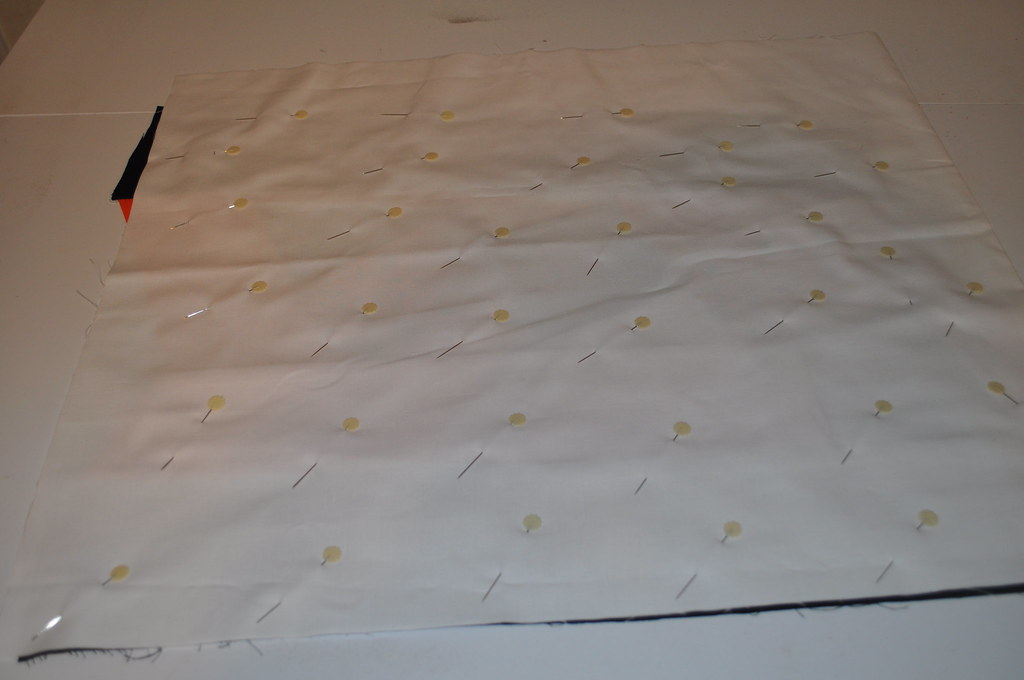
Next, we're going to lay our double-layer of Kona white right on top of the scrappy piece. Pin the heck out of it. Pin like you've never pinned before in your life. DO NOT... I repeat, do NOT spray baste this. I'm a die hard spray baster. Trust me, you'll hate yourself in about two steps if you don't listen. :)
Now, we're going to draw out the shape of our mummy. If you're not too comfortable free-handing, google for an image of a mummy and use it as a reference. Or use my pillow as reference. Draw out your shape with a regular ol' pencil. It'll wash out.
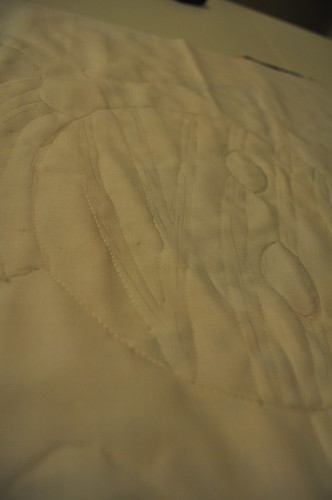
Apologies for the quality of these next couple of photos - it's really hard to show you the lines!
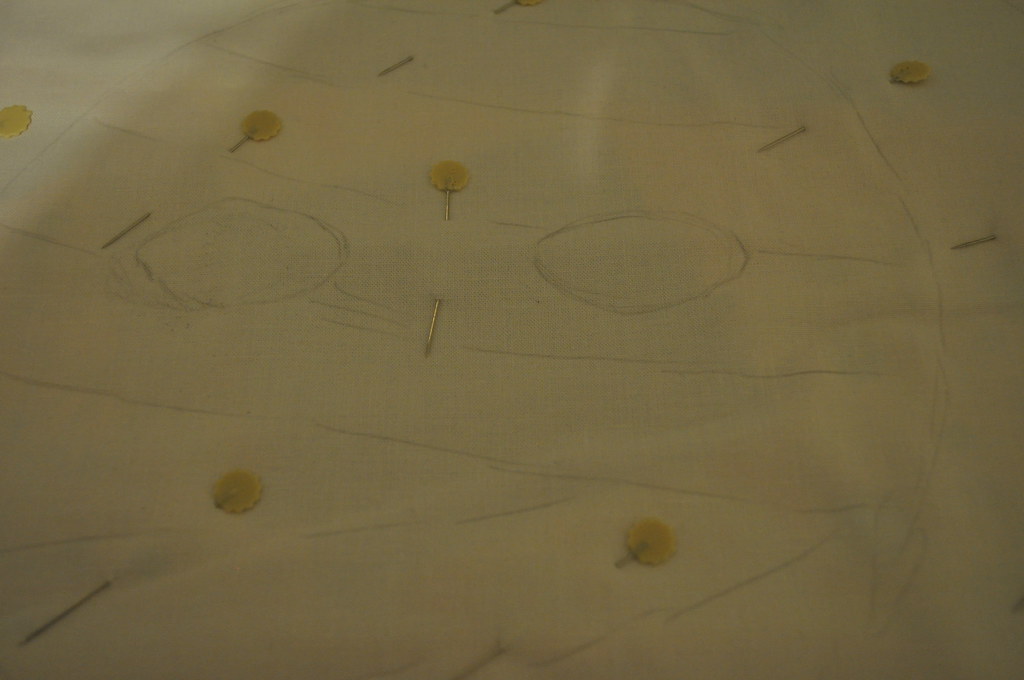
See his bandage lines? The next step is going to be tracing all of these lines with your free motion foot. Trace around your outer shape with your foot - trace the eyes. WARNING: when you go to trace your bandage lines, you want to follow the lines approximately 1/4" on the outside of each line - so you will actually have two lines, one on either side of your drawn line.
Super important. If you trace the actual bandage lines, you're going to have an inverted mummy and you're going to curse me. And then you're going to stop following Cauldron Crafts and lose out on that awesome fabric bundle from Riley Blake! So just... trust me. :)
Now that you have your lines all stitched (on the outside of the bandage lines... right?!), we're going to take our tiny little snip scissors and start working. SUPER carefully, you will pull up your two layers of Kona white and snip through them. Leave about 1/4" on the inside of where your stitch lines are to allow some fraying, but make sure to cut out just the white. You want to expose the black and orange scraps underneath!
When you have a sufficient pile of teensy white scraps and threads on your lap, you should be looking at this:
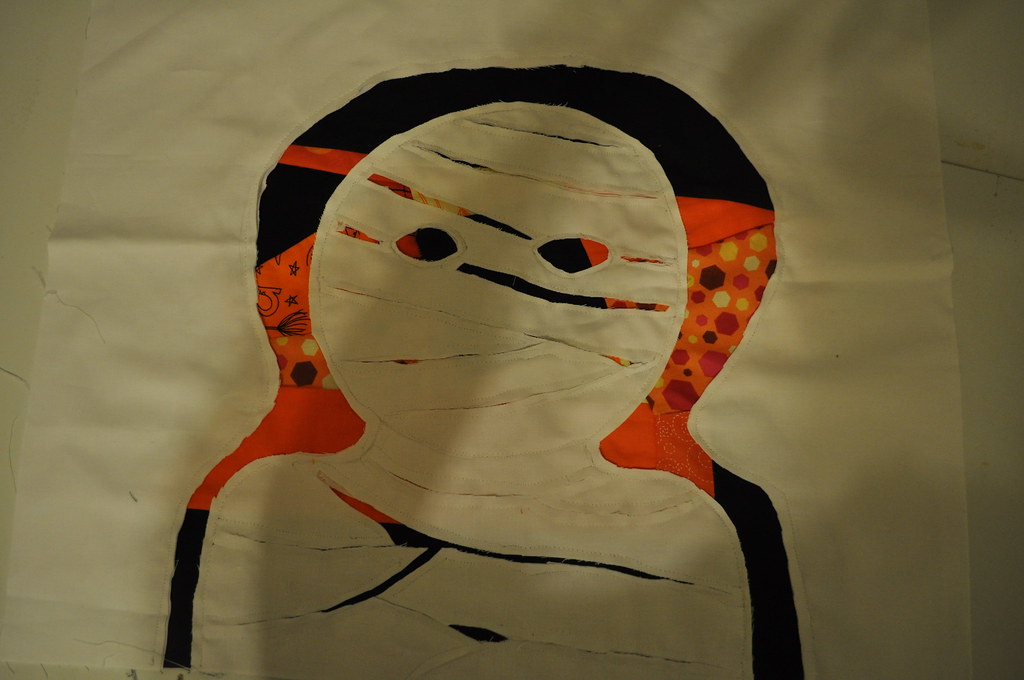
YAY! Now, because my pillows are 20", and my Kona white is only 18"(Actually, about 16.5" after I squared up), I need to add borders. I chose to add a basic black border - just attach strips to each edge like you would by adding a border to a quilt.
To give it the wonderful orange fraying, we'll need 1" strips of Kona Orange. I laid them down side by side and just did a quick stitch down the center of each strip, on top of the existing black border:
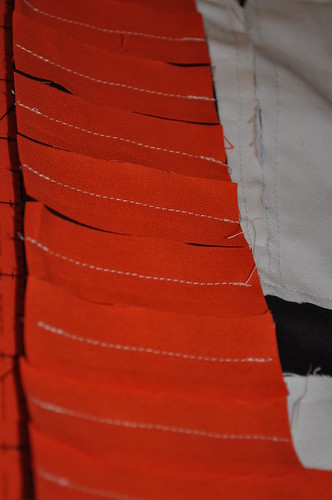
Once you've added all your strips to your border, finish up your pillow according to the Easy Overlapping Pillow Back tutorial, and toss in the wash to let 'er fray.
Fresh out of the wash, you have a yummy, raggy mummy!
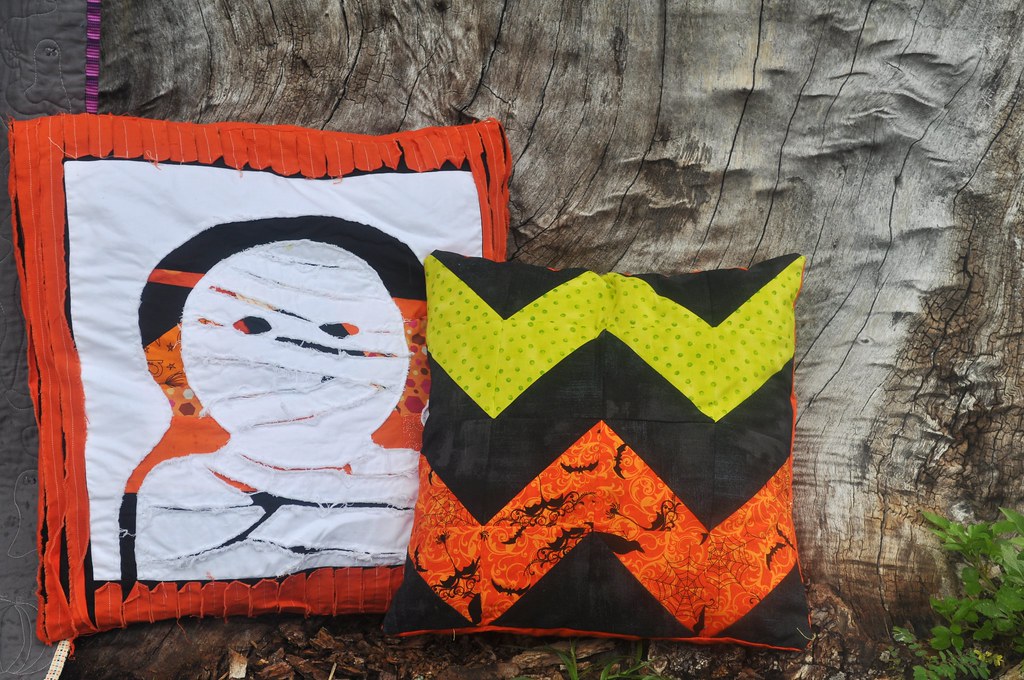 Sheer awesomeness, no?
Don't forget to add anything you've made with a Cauldron Crafts tutorial to the Flickr Group, and Link Up over at Fabric Donkey for a chance to win the grand prize - a fat quarter bundle of Doodlebugs' Trick or Treat from Riley Blake Designs!


2 comments:
I love the Mummy! Thanks for sharing.
Yay! I am so glad you posted this! I love the mummy!I remember your horse quilt and thinking I need to learn how to do that, so Yay! Thankss!! By the way i am loving all the Cauldron Crafts! You guys are awesome!
Post a Comment