
Hi Ghosts and Ghouls this is Val from over at Keeping Up With My Conqueror again, anyone interested in a tutorial? How about a tutorial along with a free embroidery pattern? Yes I am trying to bribe you all to love me, is it working?
No? Well fine then :P
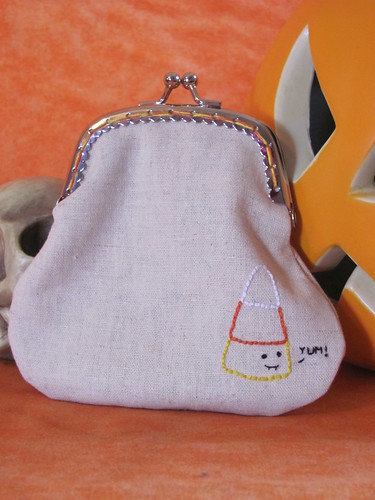
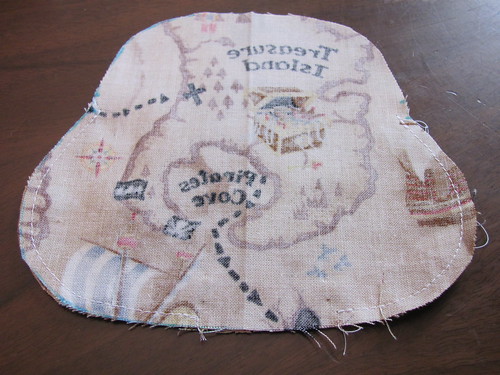
For those who are interested in the tutorial and pattern keep reading, today I'm gonna show y'all how to make this coin purse.
I'll walk you through making the pattern for the purse, transferring the embroidery pattern and putting it all together. If you already know how to do all this and just want the patterns I'm making them available on Google Docs.
So shall we begin?
What you need:
1) fabric for interior and exterior, I used Essex Linen for my exterior, and a regular quilting cotton for my interior, you'll need two (2) five (5) inch squares of each of your fabrics
2) sewing implements (sewing machine *totally optional, but speeds up the process* needle and thread *can't get around this one sorry, you'll have to do a wee bit of hand sewing no matter what, scissors)
3) embroidery floss
4) embroidery hoop (you possibly can get around using this, but you may hate yourself in the morning)
5) Washable transfer medium, I use washable transfer markers, if you have a preferred method, use it :)
6) pouch closure (I got mine at JoAnn Fabrics, if you don't have one close to you most craft stores have them, failing that you can order one online, mine is a sew in one, I haven't used a glue in one yet so I can't speak on those, sorry)
The first thing we want to do is make our pouch pattern.
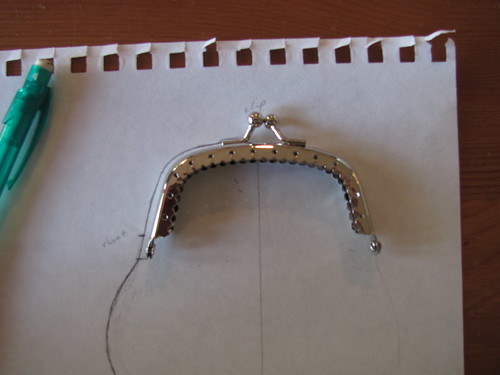
Take your pouch snap and trace it, make sure to mark where your hinges are. Don't forget about those hinges, I've made that mistake a few times and if you don't you'll have wonky sides, my darling husband likes to point mine out, yes he's a peach.
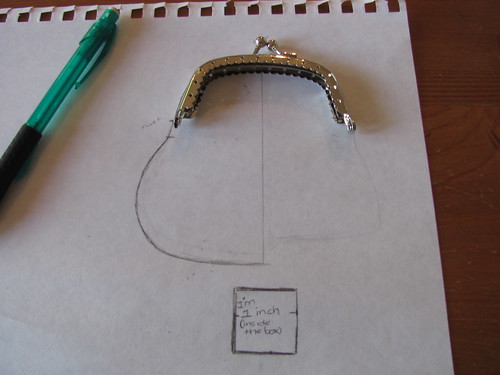
And add your seam allowances.
I only bothered to do one side since I can never manage to make them identical, I just made sure to remember to place my pattern on a fold when I traced the liner and flipped it when I traced it for the exterior.
(like this)
As you can see from the pictures I went from using sketch paper to using parchment paper, the only reason I did this is because I had forgotten that I wanted to scan the pattern and make it available to you readers, there's nothing wrong with using regular paper for this project. If I had regular access to a scanner I would have just used my original paper, but I don't so I didn't.
Now stop and assess your progress, have your helper make fun of you a bit, soon comes the embroidery part.
If you don't want to bother doing your own pattern I'm making mine available to you through Google Docs, I don't know diddly about scaling and adjusting scale with all the interference of scanning and all your new fangled technology so please double check your measurements :)
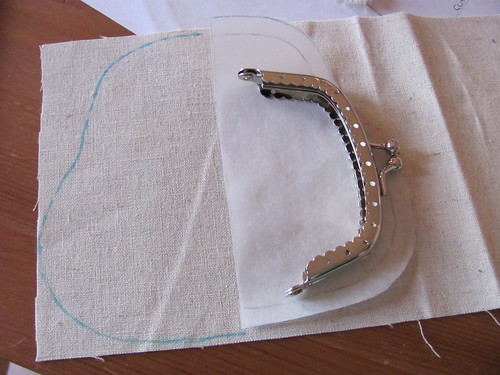
Alright now that you have your pattern trace it onto your fabric. THIS IS IMPORTANT, DO NOT CUT IT OUT. Especially if you're using linen like me, it'll fray and you'll be sad, there'll be tears.
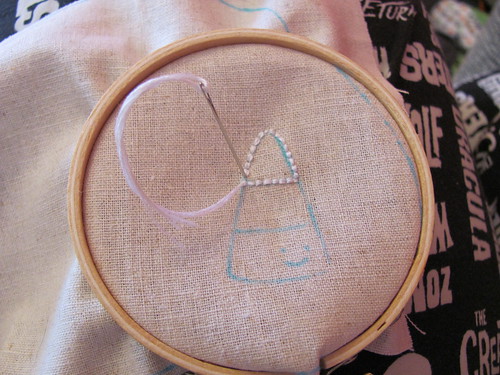
Once you have your pattern traced to your fabric it's time to transfer your embroidery pattern. For this I taped my pattern to a sunny window and traced it, you can also cheat and use your computer monitor (I've done this before and it works just fine too)
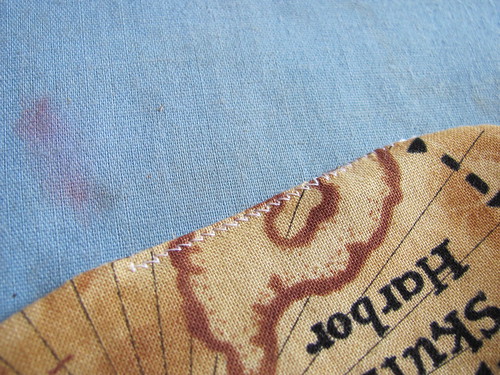
Now we pick out our embroidery floss and hoop up our work. I'm using DMC B5200 (white), 444 (yellow), and 720 (orange). You totally don't have to use those exact colors, candy corn are yummy no matter what color they are :)
Now I like my embroidery lines nice and thick so I used 2 strands doubled up, this is just my preference and you can stitch and way that works best for you!
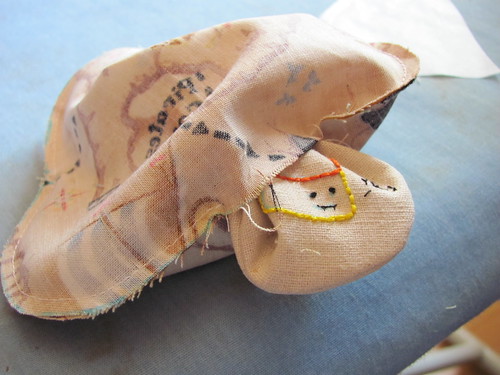
I started with my white, and did my faces and words last using a single strand of floss to keep them small and more dainty.
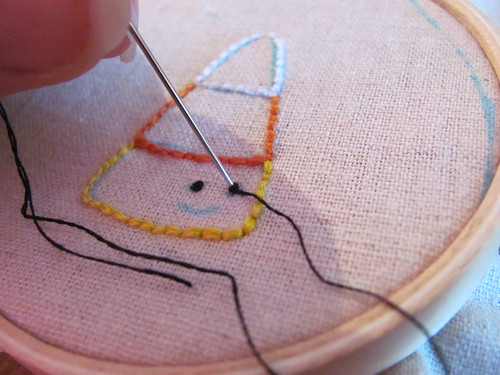
For my eyes I used French knots and the rest of my stitching was all the back stitch.
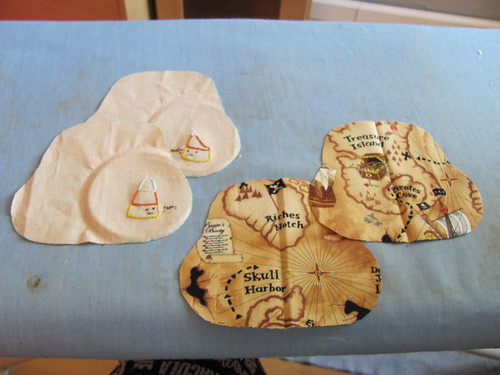
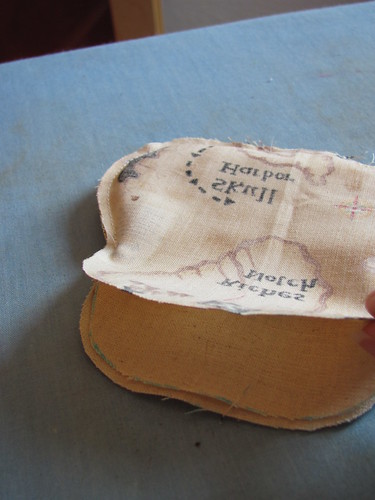
Once we're finished with our embroidery we can cut out our fabrics, Yay!
Then with right sides together pin (if you're good) and sew your liner and your exterior, starting and stopping at your hinge marks (backstitch a few times on both of those) leaving the tops open and a small hole at the bottom of your liner for turning.
Now turn your exterior fabric right side out and put it inside your liner fabric (right sides will be together here)
If you're a pinner, pin. We're going to sew our exterior to our liner, make sure to back stitch.
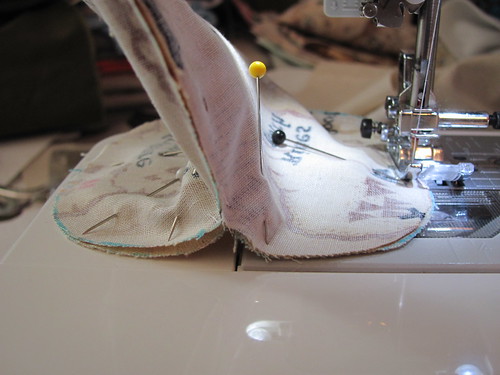
There will be a gap at your intersections, that's ok we're going to sew those by hand (you can do this!)
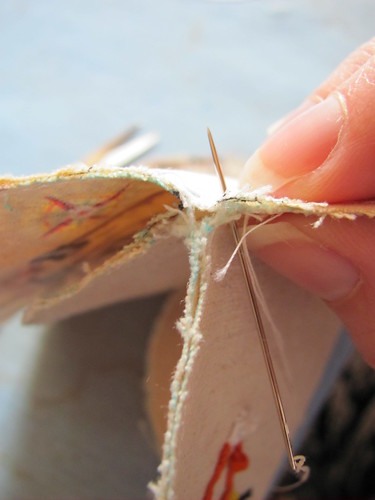
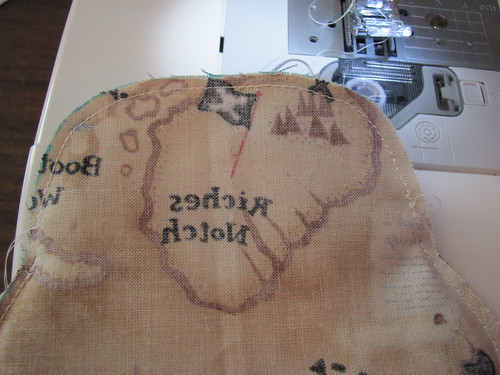
See? I told you that you can do it! Now we turn it!
And stitch closed our turning hole, you can be good and do it by hand, or if you're too impatient like me, a zig zag works just fine :) Ignore my sad stained ironing board cover, I need a new (much bigger!) ironing board but that's on the back burner ;)
After that all we have to do is finish it up! Fit each side into your frame, I like to use a bit of masking tape or painters tape to hold it together, like so...
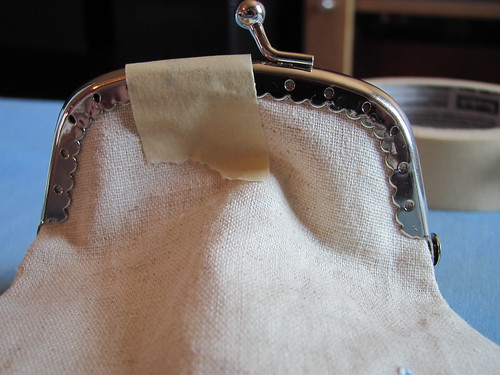
That way it doesn't try to get away while you're doing your last bit of hand sewing (yay!)
Start at one side (I started at the left since I'm a lefty) and weave it though, it's a little bugger to get your needle lined up but you'll get the hang of it pretty quickly :)
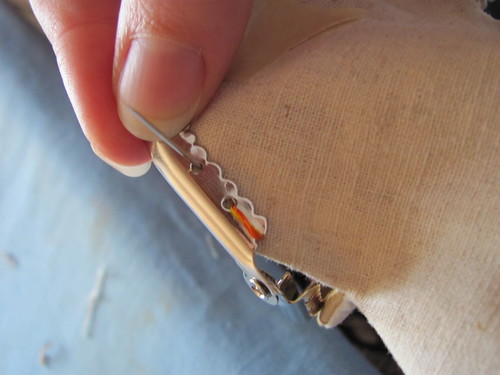
Once you get to the end, go back the other way.
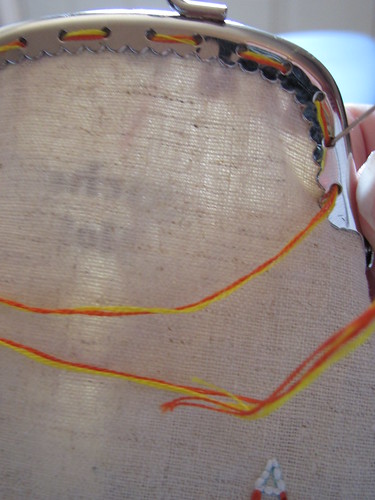
do the same on your other side....
And you're finished!
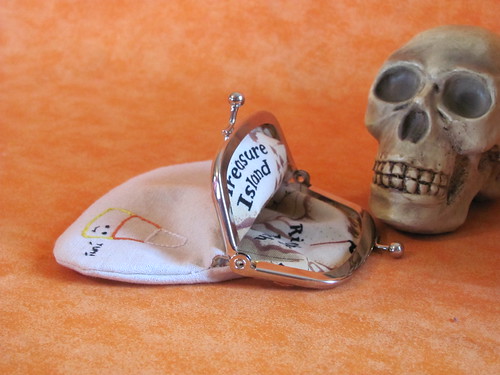
Now if you already have a few of these package it up and send it to some sucker who you conned into taking your experiments.
Here are the links to patterns in Google Docs:
Pouch Candy Corn Embroidery
I hope you enjoyed working on this little project, if you have any questions make sure to let me know, and if you make one please link up to the Cauldron Crafts Flickr Group!
7 comments:
I love the candy corn!!!!
nice! also love the kaleidoquilt in the background :D
Super Cute. I bet my girls would love a coin purse like that.
That's a great tutorial! I saw something similar in a handmade craft show and loved them and was stumped at how they did them. It seems one of those curved needles would make sewing the closure on easier. I wonder if anyone's tried them.
unable to find pattern in Google Doc, HELP !!!!!!!!!!!!!!!!
Your post is really helpful, I have been stitching in my coin purse clasps by hand and they aren't easy.Will try painters tape. Thanks,Sam
Downloaded you pattern Va, thank you very much. I will see if it works better than the one I have used today.
Oh and thanks for the giggles by the way, so funny.
Post a Comment